Bokeh effect on iPhone — soft, glowing backgrounds on photos you already took
Short answer
To get a bokeh effect on iPhone after the shot, open the photo in How to Blur Photo, keep the Background tab so the subject stays sharp, choose Gaussian for a creamy background or Ghosting for a softer glow, raise Radius until highlights bloom, and tap Save. Portrait mode simulates bokeh only while shooting; this works on any existing photo.
 Free · No uploads · Works on photos you already took
Bokeh is the quality of the out-of-focus area in a photo — the soft discs that street lights and sun through leaves turn into behind a portrait. It comes from a wide-aperture lens, which a phone does not have. Portrait mode fakes it at capture time. If the photo is already taken, you can still add the look: this guide shows how, and which style in the app gets closest.
Built into iPhone
Bokeh on iPhone without an app
Shoot in Portrait mode and, on supported models, use the f-number slider afterwards to widen the simulated aperture; lower f-numbers give bigger, softer bokeh. Getting physically close to the subject also increases real background blur. Neither helps once a normal photo has been taken, and Photos offers no bokeh filter for existing images.
Which style gives the bokeh look
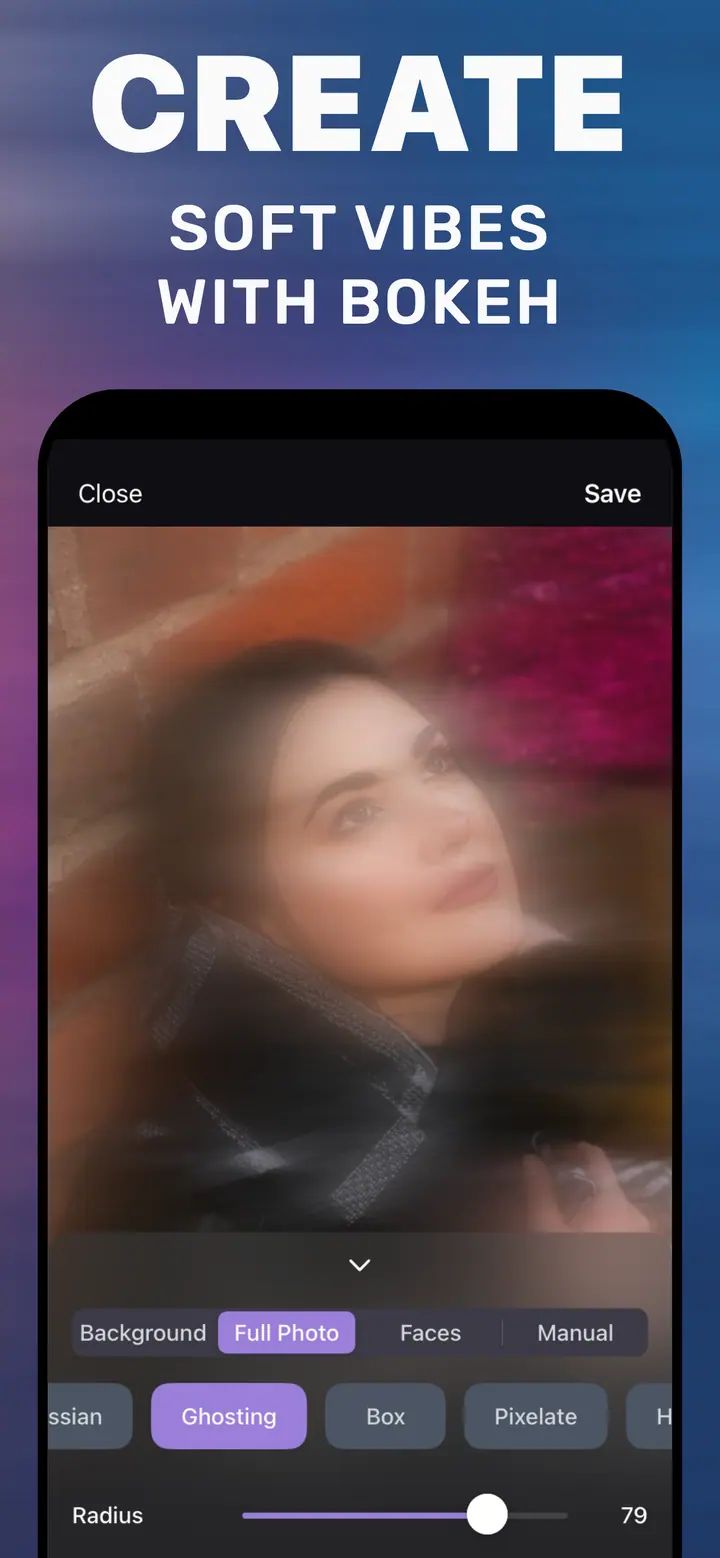
Gaussian at a higher Radius (55–80) is the closest match to lens bokeh on most backgrounds: highlights soften into glowing patches and colours blend. Ghosting layers a shifted copy of the background, which gives a hazy, romantic glow that suits evening and backlit photos — the App Store listing calls it “soft vibes with bokeh”. Pick Gaussian for realism and Ghosting for mood.
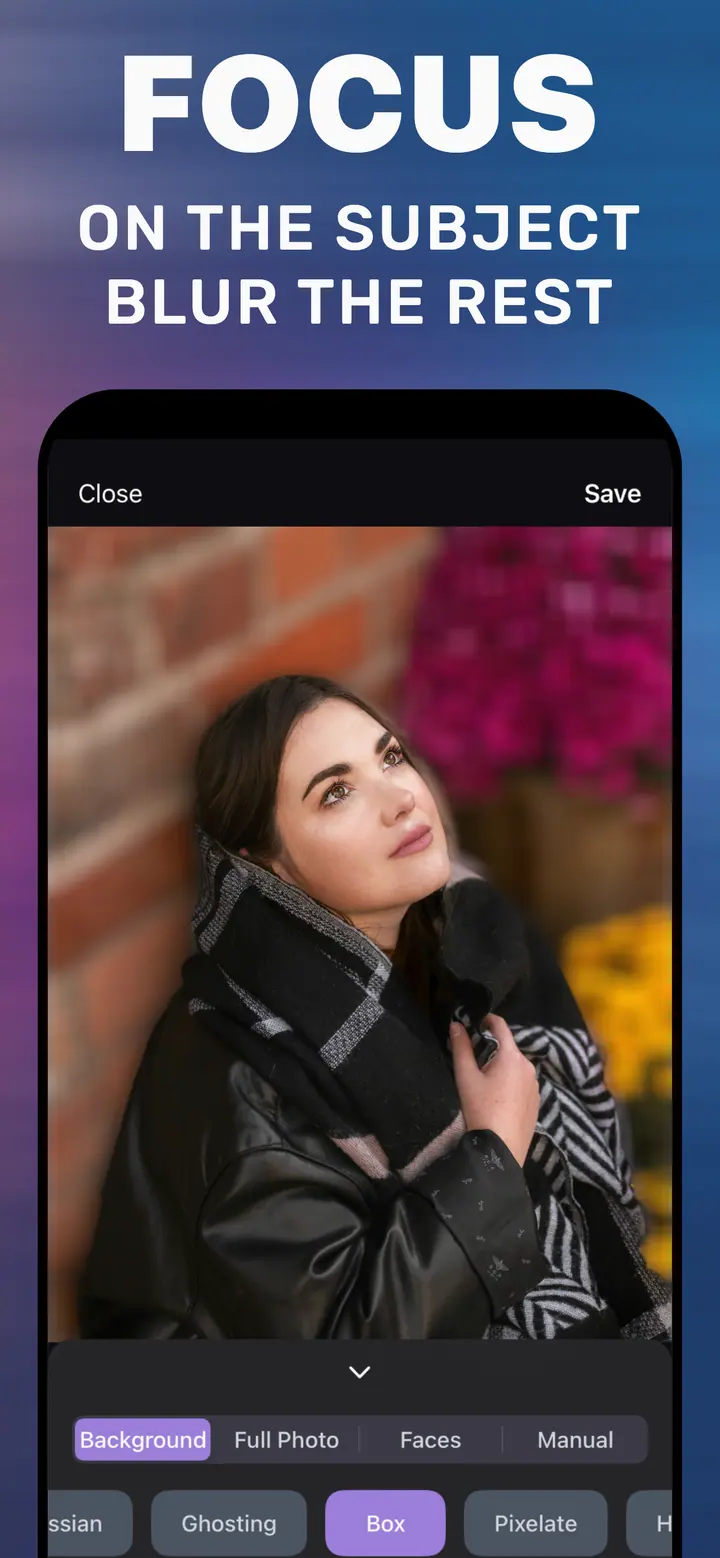
The subject is masked automatically on the Background tab, so the person stays crisp while the background blooms. That contrast is what makes bokeh read as bokeh.
Photos that suit the effect
Backgrounds with point lights — fairy lights, city streets at night, sun through trees — produce the classic discs. Plain walls become smooth gradients, which still isolates the subject but looks less dramatic. A little distance between subject and background makes the result more believable.
How to add a bokeh effect in How to Blur Photo
-
Open a photo with a lit or busy background
Launch How to Blur Photo and choose the image. Night portraits and backlit shots work best.
-
Keep Background selected
The subject is detected and protected from the blur.
-
Tap Gaussian or Ghosting and raise Radius
Start around 55 and increase until the background highlights bloom the way you like.
-
Save
Tap Save to export the bokeh version to your library.

Download How to Blur Photo
Free · iPhone with iOS 18.6+ · No uploads
Tips
Slightly underexposed backgrounds with bright points give the most convincing bokeh.
Do not push Radius past the point where the subject’s edge starts to glow; step back a little.
For group photos where only one person should be sharp, use the Manual tab and brush over the others.
Frequently asked
Can I add bokeh to a photo after taking it on iPhone?
Yes. How to Blur Photo keeps the subject sharp and softens the background with Gaussian or Ghosting, which produces the bokeh look on any existing photo.
What is the difference between bokeh and background blur?
Background blur is the general effect; bokeh describes the character of that blur, especially how highlights render. Strong, smooth background blur with glowing highlights is what people mean by a bokeh effect.
Does it need Portrait mode or a Pro iPhone?
No. It works on any iPhone running iOS 18.6 or later, on photos from any mode.