Gaussian blur on iPhone photos — soft background, sharp subject
Short answer
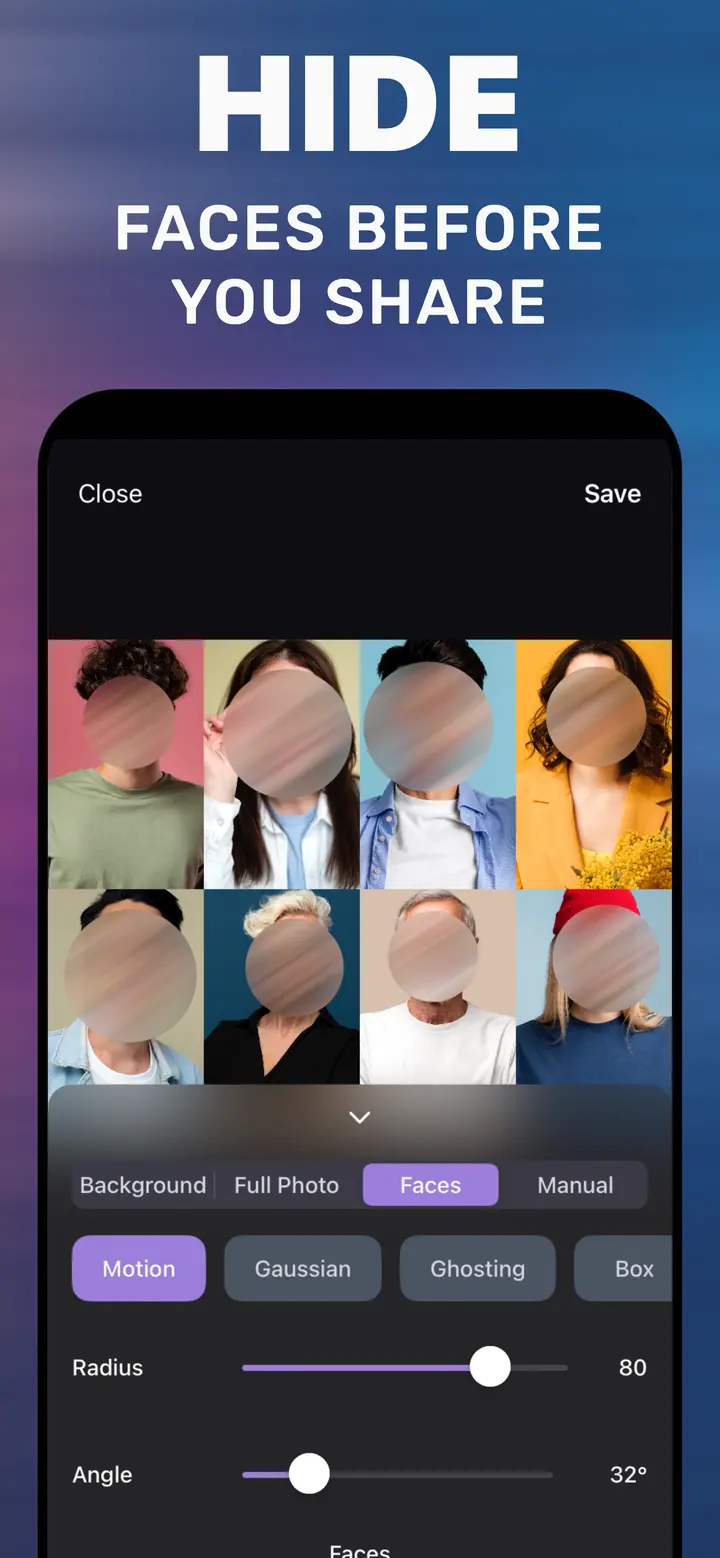
To apply a gaussian blur on iPhone, open the photo in How to Blur Photo, keep the Background tab so the subject stays sharp (or choose Full Photo to blur everything), tap the Gaussian style, drag Radius to set how soft the result is, and tap Save. Gaussian is the smooth, even blur that most closely resembles a camera lens out of focus.
 Free · No uploads · Works on photos you already took
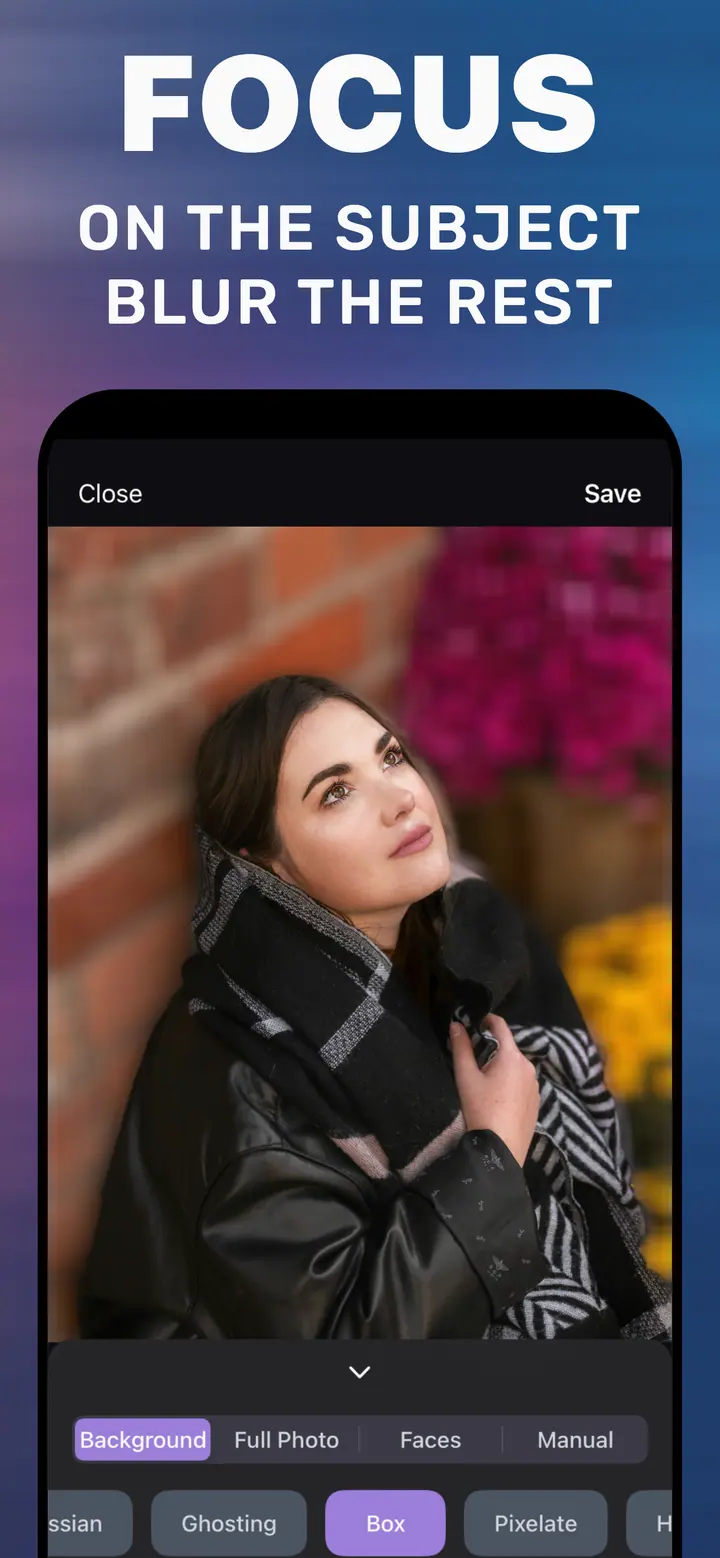
Gaussian blur is the standard soft blur in every image editor: each pixel is averaged with its neighbours using a bell-curve weighting, so the result is smooth with no streaks or blocks. On a photo background it looks like shallow depth of field. This guide explains when to choose Gaussian over other blur types and how to apply it on the iPhone without a desktop app.
Built into iPhone
Is there a gaussian blur in the Photos app?
No. Photos has no blur filter for a regular photo, gaussian or otherwise. The Portrait f-number control simulates lens blur on Portrait captures only. General photo editors often include a blur tool, but most apply a radial or whole-frame blur rather than detecting the subject for you.
Gaussian vs the other styles
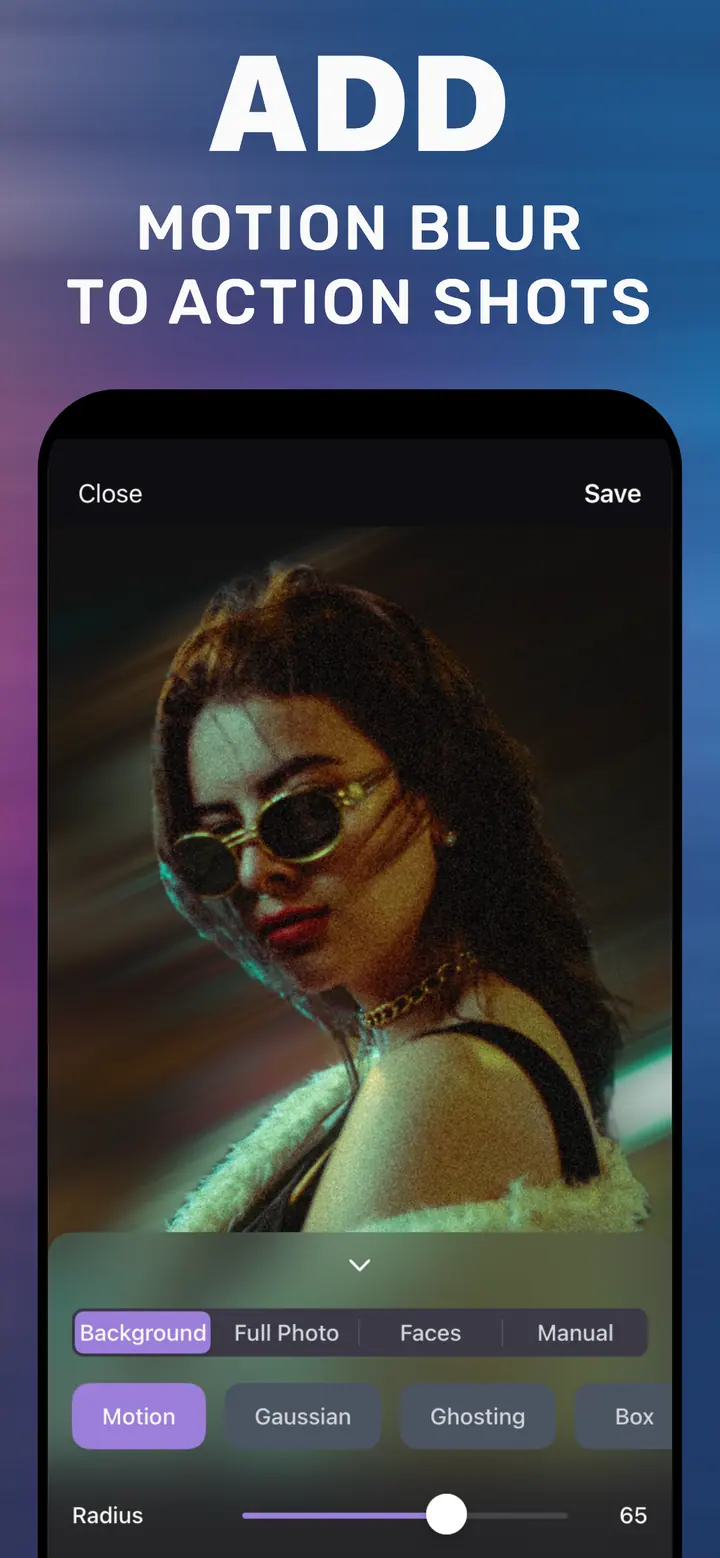
Gaussian is even and directionless — the safe choice for portraits, products, and anything that should look photographic. Box blur is similar but flatter and slightly more digital. Motion adds direction. Ghosting doubles the image. Pixelate, Hexagonal, and Crystallize replace detail with blocks or cells and are stylistic or privacy tools rather than lens simulations.
In How to Blur Photo, Radius maps to the gaussian radius: how many pixels each point is averaged across. Larger radius, softer result.
Typical settings
Headshots: Radius 30–45 keeps the environment readable. Full-length portraits: 45–60. Product photos on a table: 50–70 so the item is the only sharp thing. Full Photo backgrounds for text: 70+.
How to apply gaussian blur in How to Blur Photo
-
Open the photo
Launch How to Blur Photo and pick the image.
-
Choose Background or Full Photo
Background keeps the detected subject sharp; Full Photo blurs the entire image.
-
Tap Gaussian and drag Radius
Gaussian is in the style row. Move Radius until the blur looks like a lens rather than a filter.
-
Save
Tap Save to export the result to your library.

Download How to Blur Photo
Free · iPhone with iOS 18.6+ · No uploads
Tips
Gaussian at high Radius on a bright background creates a bokeh-like glow around highlights.
Check hair edges at 100% before saving; if needed, touch up with the Manual tab.
Use the same Radius across a set of product photos for a consistent catalogue look.
Frequently asked
What is gaussian blur?
A smooth blur where each pixel is averaged with its neighbours using a bell-curve weighting. It has no direction and is the closest software match to a lens out of focus.
Gaussian blur or bokeh — which should I use for a portrait?
Gaussian at a moderate Radius gives the portrait look on most photos. Bokeh refers to the shape of out-of-focus highlights; on backgrounds with lights, a stronger Gaussian produces a similar glow.
Does the app blur the subject too?
Not on the Background tab; the subject is masked automatically. Use Full Photo if you want the whole image soft.